7 Tips for Choosing a Duraband Nozzle Band Heater
Choosing a Duraband Nozzle Band Heater is not just a matter of matching a part number. In injection molding, the heater must fit the nozzle, deliver suitable heat, and withstand the machine’s operating conditions. A loose fit can leave uneven contact around the barrel. An undersized unit may struggle to maintain the required temperature. Small details matter.
The U.S. Department of Energy’s 2016 sourcebook, Improving Process Heating System Performance: A Sourcebook for Industry, highlights system design, temperature control, and maintenance as important considerations in industrial heating. It is broad process-heating guidance, not a product test of Duraband heaters. That distinction matters. Use it as context, then verify dimensions and electrical ratings against the heater manufacturer’s specifications and the machine’s requirements.
This guide presents seven practical checks: nozzle diameter and heated length, voltage and wattage, band construction, clamping and fit, temperature sensing, operating conditions, and replacement planning. A caliper, nameplate photo, and measured nozzle temperature can help make the comparison concrete. Still, a measurement taken at one point may not reveal every temperature variation. That’s worth remembering. The right choice depends on the actual application, not a generic rule. These tips can help buyers ask better questions, reduce avoidable mismatches, and select a Duraband Nozzle Band Heater with greater confidence.
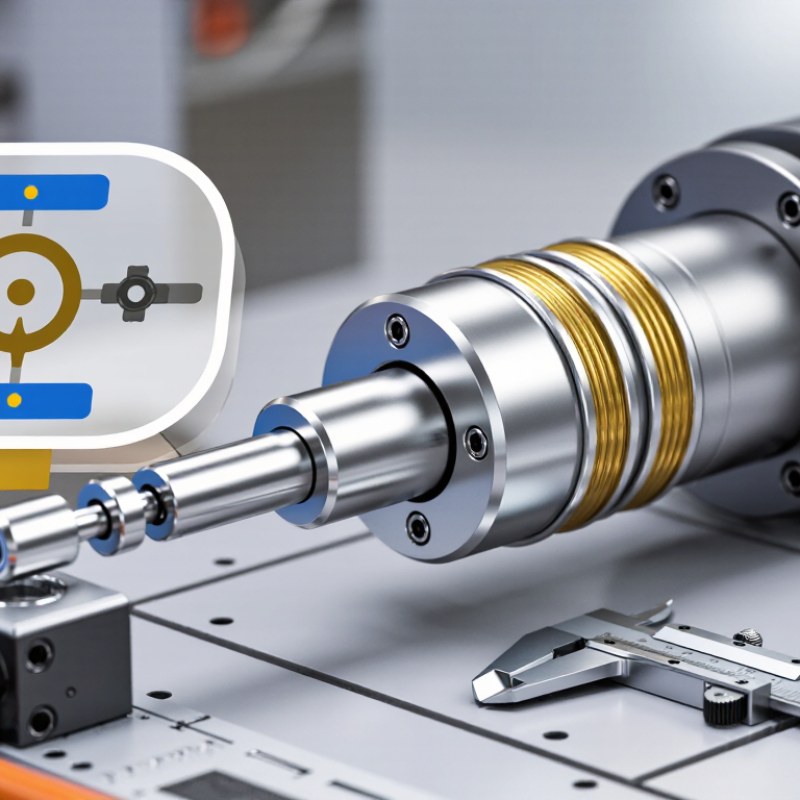
Understand How a Duraband Nozzle Band Heater Works
A nozzle band heater wraps around a molding machine’s nozzle, where it transfers heat into the metal. Inside the band, electrical resistance wire turns current into heat. The heater’s close fit helps that heat move evenly across the nozzle surface. The nozzle then warms the plastic as it travels toward the mold. Simple, but contact matters.
Tip: Check the nozzle diameter and usable heating width before choosing a heater. A loose fit can create cold spots; an overly tight fit can make installation difficult. Confirm the voltage and wattage match the machine’s requirements. A thermocouple or other temperature sensor reports nozzle temperature to the controller, which switches power on and off to maintain the set point. It is not instant.
During setup, inspect the clamping hardware and keep the heater seated against a clean, undamaged surface. Follow the machine and heater instructions for wiring, sensor placement, and tightening. A temperature reading may lag behind the actual nozzle surface, especially during warm-up. I would not assume a steady display means every part is equally hot. If cycles vary, review the fit, sensor contact, and process settings before increasing temperature. Small differences can matter.
7 Tips for Choosing a Nozzle Band Heater: Understand How It Works
How to read this chart: Thermal conductivity describes how readily a material transfers heat. Approximate room-temperature values are shown for common metals; actual values vary by alloy and temperature. When choosing a nozzle band heater, also check nozzle fit, heater construction, watt density, operating temperature, and temperature-control requirements—conductivity alone does not determine heater performance.
Identify Your Nozzle’s Size and Configuration
Choosing the correct band heater starts with accurate nozzle measurements. Measure the nozzle’s outside diameter at the heater location, not at its tip. Then measure the available heated length and check nearby shoulders, threads, and fittings. A ruler can help, but calipers usually provide a more reliable diameter reading. Small differences matter. A loose fit can slow heat transfer, while an oversized heater may not seat properly.
Next, record the nozzle’s configuration. Note whether it has a flat or tapered surface, and check how much clearance exists around it. Identify where power leads should exit, and whether nearby parts could bend or pinch them. Confirm the terminal position, lead length, and any sensor requirements before selecting a heater. Even careful measurements can be imperfect; rechecking them is worthwhile. I would not assume two similar-looking nozzles share the same dimensions.
Tip: Write down diameter, heated length, nozzle shape, lead direction, and clearance. Take a photo beside a ruler if the layout is awkward. Share those details with the heater supplier, and ask them to confirm the fit before ordering. A quick sketch helps, too. Keep your notes; they may reveal which measurement needs another look.
7 Tips for Choosing a Duraband Nozzle Band Heater - Identify Your Nozzle’s Size and Configuration
| Tip | What to Identify | Practical Check or Example |
| 1. Measure the nozzle outside diameter | The diameter of the cylindrical surface the heater will surround. | Measure with calipers at the heater location. For example, 1.50 in equals 38.1 mm. Select a heater with an inside diameter specified for that nozzle size, and verify the supplier’s fit requirements. |
| 2. Measure the heated length | The axial width of the nozzle area that needs heating. | A 1.50 in-wide heater is 38.1 mm wide. Check that the selected width fits the available straight section without covering threads, shoulders, or adjacent components. |
| 3. Confirm the nozzle shape | Whether the mounting surface is round, tapered, stepped, or interrupted by flats. | A standard circular band is intended for a round surface. A taper or large flat can prevent even contact; confirm that the heater construction and dimensions suit the actual profile. |
| 4. Match voltage and wattage | The available supply voltage and the heater’s rated electrical load. | For reference, 600 W at 120 V draws 5 A; 600 W at 240 V draws 2.5 A. These are electrical examples, not universal heater recommendations. Check the machine’s specifications and circuit capacity. |
| 5. Check terminal orientation and clearance | Where the leads or terminals exit and how much installation space is available. | Compare the terminal position with nearby wiring, guards, and machine parts. Allow room for the leads to bend without rubbing against hot or moving surfaces. |
| 6. Decide whether temperature sensing is needed | The temperature-control method and any thermocouple or sensor placement requirements. | Check the controller’s sensor type and connection details. A sensor must be positioned and installed as specified for the equipment; a heater’s sensor provision does not replace a compatible temperature controller. |
| 7. Verify fit and installation conditions | The nozzle’s surface condition, mounting method, and operating environment. | Remove residue and check for damage before installation. Follow the heater and machine instructions for clamping, clearances, and operating temperature; a loose or uneven fit can reduce heat transfer. |
Sizing examples are for measurement reference only. Confirm the exact inside diameter, width, voltage, wattage, terminal arrangement, and sensor options against the equipment requirements before ordering.
Match Heater Dimensions to the Nozzle
Measure the nozzle where the heater will sit, not at its widest point. A caliper gives a useful outside-diameter reading, while a quick check in two directions can reveal an oval or worn surface. Small differences matter. A band that is too loose may leave an air gap and heat unevenly; one that is too tight may be difficult to install or remove.
Match the heater’s inside diameter and heated length to the nozzle’s usable surface. The band should cover the intended heating area without extending onto a shoulder, thread, or nearby fitting. Check the available clearance, too. A clamp, connector, or lead can collide with adjacent equipment even when the heater body fits. Measure the installed space, not just the nozzle on a bench.
Allow for the heater’s specified fit and installation method rather than forcing a close-looking size into place. Compare your measurements with the supplier’s dimensional drawing, and confirm the allowable diameter range before ordering. Measure twice. Nozzle wear and measurement error are easy to overlook, and drawings do not always capture what is on the machine. If the fit remains uncertain, verify the dimensions with the heater supplier before installation.
Compare Temperature, Voltage, and Wattage Ratings
A nozzle band heater should match the machine’s real operating conditions, not just fit around the nozzle. Check the heater’s rated temperature against the process setpoint and the temperature limits of nearby components. Leave a sensible margin; running continuously at a heater’s maximum rating can shorten service life. Measure the nozzle where the band will sit, since small gaps can reduce heat transfer. Looks close, but verify the dimensions.
Compare voltage with the available supply before ordering. A mismatch can prevent proper operation or damage equipment. Wattage affects how quickly the heater warms and how well it maintains temperature during production. More watts are not automatically better: consider nozzle size, insulation, material, and expected cycle time. A tempting shortcut is to copy the old heater’s label, but the previous selection may not have been ideal.
Tip: Read the heater’s rating plate and the equipment manual together. Confirm temperature, voltage, and wattage, then ask a qualified technician to review any unclear specifications. Keep the old part’s measurements for comparison, but treat them as a reference, not proof. Small details matter.
Check Materials, Installation, and Maintenance Needs
Choosing a nozzle band heater starts with the barrel, not the catalog. Match the band’s inner diameter and width to the measured nozzle, allowing for a snug fit without forcing the terminals against nearby parts. Check the sheath and insulation against operating temperature, vibration, and exposure to oil or cleaning fluids.
The U.S. Department of Energy’s Improving Process Heating System Performance sourcebook reports that process heating uses about 36% of manufacturing energy. That figure covers many systems, not nozzle heaters alone, but it shows why heat loss and poor control deserve attention.
Tip 1: Confirm voltage, wattage, and temperature limits with the equipment manufacturer.
Tip 2: Check that the sensor sits close to the heated zone, then verify readings during a controlled warm-up. A sensor in the wrong spot can make a stable display misleading.
Tip 3: Before installation, clean the nozzle surface and inspect the lead wires. A small gap can slow heat transfer. Do not overtighten the band; distortion may shorten its life.
During maintenance, isolate power and let the assembly cool before inspection. Look for loose terminals, cracked insulation, discoloration, or uneven heating. Record resistance and operating temperature after replacement, then compare them with the equipment’s baseline. Conditions vary. Even careful checks may miss a developing fault, so review the heater again after the first production run.