Street lighting shapes how people move, work, and feel after sunset. It also creates a long-term energy and maintenance commitment. The International Energy Agency has estimated that lighting uses about 15% of global electricity. That figure covers lighting broadly, not street lighting alone, but it shows why efficient equipment deserves careful attention. Small choices matter.
For global buyers, a Street Outdoor Light is not simply a bright fixture in a catalog. Optics, wattage, color temperature, ingress protection, driver quality, and control compatibility all affect performance. So do local conditions: salt spray near a harbor, dust along a dry road, or frequent voltage changes. The U.S. Department of Energy’s outdoor-lighting guidance emphasizes matching products to the application and evaluating performance, not relying on wattage alone. Useful advice, though a specification sheet cannot tell you how a fixture performs on a particular street.
This guide presents seven practical buying tips for comparing suppliers and reducing avoidable surprises. It considers light distribution, verified test data, warranties, spare parts, and total ownership costs. Ask for photometric files and clear warranty terms. Check the details.
Even a well-written tender can miss something. A driver may be difficult to replace, or a control system may not work with existing infrastructure. These are not dramatic failures, but they can become expensive. The right decision comes from matching documented product performance with real site needs—and questioning assumptions before placing a large order.
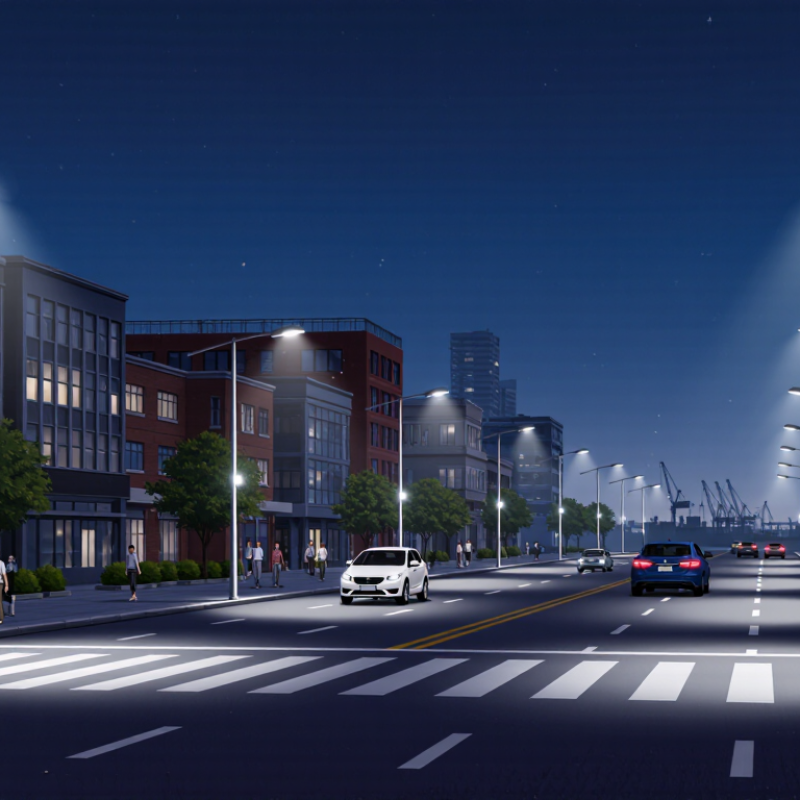
A six-lane arterial and a quiet residential street should not receive the same lighting design. ANSI/IES RP-8-22, Roadway and Parking Facility Lighting, bases recommendations on roadway use and visual conditions, not a single universal lumen target.
That matters.
Identify the road class, traffic speed, pedestrian activity, and conflict areas before comparing fixture output. Then check the applicable maintained luminance or illuminance, uniformity, and glare-related criteria. More lumens alone do not guarantee safer visibility.
For a local street, excessive output can create bright patches and sharp contrast at driveways. A higher-class road may need stronger, more uniform coverage across multiple lanes.
Not quite.
Confirm mounting height, pole spacing, pavement reflectance, and depreciation assumptions in the photometric layout; these details can change results substantially. The U.S. Department of Energy’s 2016 report, Adoption of Light-Emitting Diodes in Common Lighting Applications, describes street-lighting energy savings of about 50% in evaluated LED conversions, compared with legacy technologies.
Actual savings vary.
Treat that figure as context, not a promise: first meet the road’s IES criteria, then compare wattage and controls.
One easy mistake is selecting by catalog lumens before checking the maintained design. Revisit that decision.

For street lighting, IP66 is a useful protection rating, not a promise that a fixture can withstand every outdoor condition. Under IEC 60529, the first “6” indicates dust-tight protection. The second “6” covers powerful water jets under defined test conditions. It does not mean the luminaire can be submerged. Check the test report, not just a sales sheet, and confirm it applies to the complete fixture, including its seals and cable entries.
Small details matter. A loose cable gland or damaged gasket can create a weak point during installation. Ask whether the tested configuration matches the product you will receive, and inspect seals after opening the housing for wiring. IP ratings also say nothing about resistance to salt air, UV exposure, or extreme temperatures. Those conditions need separate consideration. I sometimes see buyers treat IP66 as an all-weather guarantee; that is an easy assumption to make, but it leaves important questions unanswered.
Tips: Request an IEC 60529 test report from a qualified laboratory. Check the specified jet conditions and the exact model tested. Confirm cable-entry sizes, gasket materials, and replacement parts. For coastal roads, ask about corrosion protection too. Keep the documents with the project records. It helps later.
When comparing street outdoor lights, check luminous efficacy in lumens per watt (lm/W), not wattage alone. Wattage tells you how much electrical power a fixture uses; efficacy shows how much light it produces for that power. For example, a 120-watt fixture rated at 18,000 lumens delivers 150 lm/W. Numbers need context. Confirm that the figure describes the complete luminaire, not just its LED module, and compare products measured under similar conditions.
Tip: Request a current test report and check the stated input power, lumen output, and operating temperature. Then review the photometric file: a high lm/W figure cannot tell you whether light reaches the road evenly or spills onto nearby homes. A narrow beam may suit one street layout, but not another. Small details matter.
Consider the site, too. A fixture with slightly lower efficacy may provide better spacing or visibility, reducing the number of poles needed. Check colour temperature, colour rendering, dimming options, and driver losses alongside lm/W. I might be tempted to choose the highest number on a specification sheet; that shortcut deserves a second look. Ask suppliers to explain how the rating was measured and compare complete products, not isolated LED components.
| Buying tip | What to compare | Practical benchmark or check | Why it matters |
|---|---|---|---|
| 1. Compare luminaire efficacy, not wattage alone | Delivered luminous flux (lm) ÷ input power (W), expressed as lm/W | Compare complete-luminaire figures on the same test basis. For example, a 60 W luminaire producing 9,000 lm delivers 150 lm/W; a 100 W luminaire producing 10,000 lm delivers 100 lm/W. | Wattage indicates power consumption, not how much useful light reaches the road. Check that the quoted efficacy is for the complete luminaire, not just the LED package. |
| 2. Match light output and distribution to the road | Luminaire lumens, road width, pole height and spacing, mounting angle, and photometric file (IES or LDT) | Request a project-specific lighting calculation showing maintained illuminance or luminance, uniformity, and glare results against the applicable road-lighting standard. | A high lumen or lm/W figure alone does not ensure good road lighting. Optics and layout determine where the light goes and whether the design meets local requirements. |
| 3. Select color temperature and color rendering for the site | Correlated color temperature (CCT) in kelvin and color rendering index (CRI) | Common outdoor options include 3000 K and 4000 K; CRI 70 or higher is often specified for general roadway applications. Verify municipal rules and environmental restrictions before choosing. | Color appearance affects visibility, community preference, and ecological impact. Some jurisdictions restrict CCT or require warmer light in sensitive areas. |
| 4. Verify ingress and impact protection | IP rating for dust and water ingress; IK rating for mechanical impact | IP66 indicates dust-tight protection and protection against powerful water jets under the test conditions. IK08 corresponds to a 5 J impact level; IK10 corresponds to a 20 J impact level. | Choose ratings suited to local weather, cleaning methods, vandalism risk, and installation location. Ratings describe tested protection levels, not immunity to every field condition. |
| 5. Check electrical compatibility and surge protection | Supply voltage and frequency, driver input range, power factor, total harmonic distortion, and surge-protection details | Confirm compatibility with the project’s utility supply and applicable electrical requirements. Ask for surge-test details, protection modes, and the replaceability of the driver or protection device. | Electrical conditions and grid disturbances vary by market. A suitable driver and documented surge protection can help reduce failures and simplify maintenance. |
| 6. Evaluate lifetime claims and serviceability | LED lumen-maintenance data, driver lifetime, operating temperature, warranty terms, and replaceable components | Request the stated lifetime basis, such as an L70 or L80 projection, plus the ambient-temperature assumptions and supporting test or calculation documents. | A projected LED lifetime does not automatically represent the lifetime of the entire luminaire. Drivers, seals, thermal design, and access to replacement parts also affect ownership costs. |
| 7. Compare controls and total cost of ownership | Dimming profiles, photocell or motion-control compatibility, controls protocol, energy use, maintenance, and replacement costs | Compare expected annual energy consumption using local operating hours and electricity rates. Confirm control-system interoperability and whether components can be replaced without changing the whole luminaire. | Lower initial wattage or purchase price does not necessarily mean lower lifetime cost. A well-designed dimming schedule and maintainable product can reduce energy use and service costs. |
For global buyers, the 7-pin ANSI C136.41 interface deserves a close look. It connects a roadway luminaire with an external lighting control. The extra contacts can support compatible auxiliary functions alongside dimming. They do not guarantee that every controller will work. Check the luminaire’s wiring diagram, socket layout, and control-system specifications before ordering.
The U.S. Department of Energy’s LED street-lighting guidance reports energy savings of up to 50% compared with conventional streetlights. Actual savings depend on the existing lamps, operating hours, and control settings. Networked dimming can help capture further savings, but only when the socket, controller, and software communicate as intended. A data sheet match is useful. It is not a field test.
Ask suppliers to confirm ANSI C136.41 compatibility in writing, including pin assignments and supported dimming signals. Check whether the luminaire includes surge protection and whether the control unit’s dimensions clear the fixture’s cover. These small details matter on a wet lift, several metres above the road. Avoid paying for unused functions, too. It is easy to over-specify. Yet choosing a basic interface may limit future upgrades. Compare the full control pathway, not just the socket.
For street-light procurement, ask for an IEC 62722-2-1 test report for the exact luminaire configuration—not a similar product family. The standard sets performance requirements for LED luminaires, including measurement conditions. Check rated input power, luminous flux, efficacy, and lumen maintenance. Match the report’s model, optics, driver, and operating current to the quotation. Small changes matter. A different lens can alter road uniformity.
Then compare the measured photometry with local road-lighting rules. Confirm maintained illuminance or luminance, uniformity, glare limits, and any restrictions on upward light or color temperature. Ask for the IES or LDT file and have it checked against the actual road width, pole spacing, mounting height, and tilt. A bright sample on a desk proves little. The road is the test.
Energy figures need context. The U.S. Department of Energy’s 2017 report, Energy Savings Forecast of Solid-State Lighting in General Illumination Applications, found substantial savings potential as LED lighting replaces conventional sources; actual results depend on the baseline and controls. Request a project-specific wattage and dimming calculation. Also verify ambient-temperature limits and surge protection against local conditions. One awkward truth: a compliant report cannot predict every installation. Field aiming and maintenance still need attention. I would not treat a certificate as a substitute for a night-time site check.